Your Cart is Empty


The Ditty Dry Sack is a lightweight, waterproof storage bag with a transparent window for easy access, perfect for organizing smaller items in your pack.
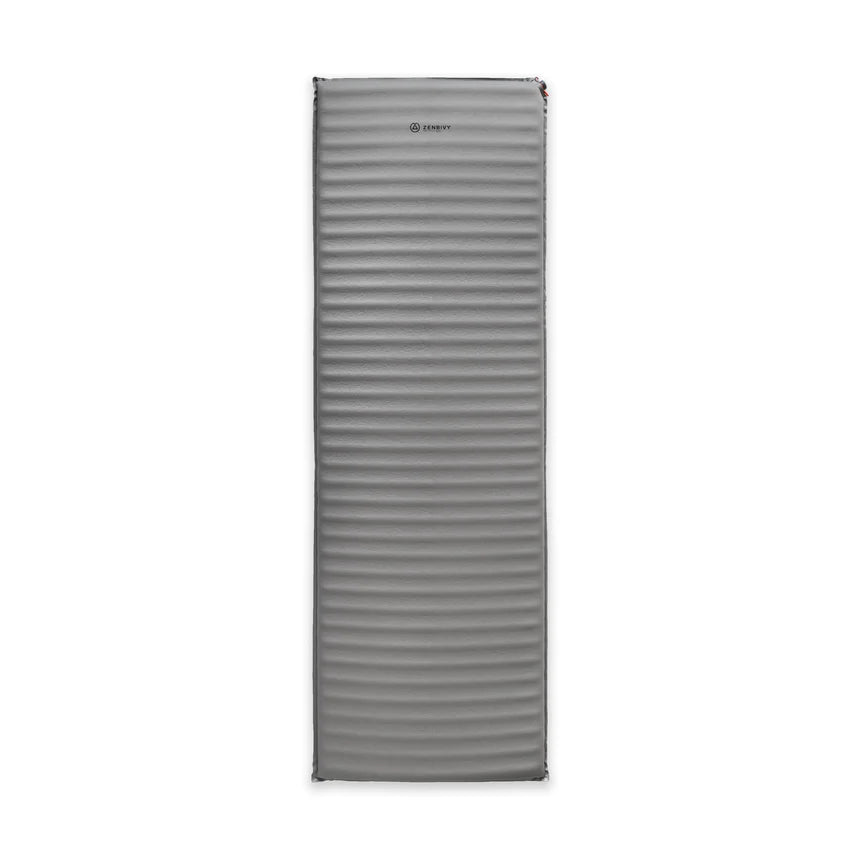
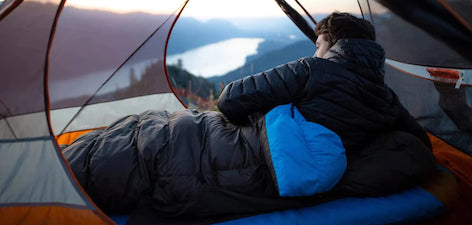
Great sleep outdoors requires a warm, comfortable, and quiet mattress. All Zenbivy mattresses deliver R5+ warmth for EN/ISO-matched performance, but which one is right for you?

Care & Protection for Your Down Gear – Clean, Restore & Waterproof with Nikwax
The Ditty Dry Sack is a lightweight, waterproof storage bag with a transparent window for easy access, perfect for organizing smaller items in your pack.
Great sleep outdoors requires a warm, comfortable, and quiet mattress. All Zenbivy mattresses deliver R5+ warmth for EN/ISO-matched performance, but which one is right for you?
Care & Protection for Your Down Gear – Clean, Restore & Waterproof with Nikwax

Our separate Compression Caps relieve the seams of the Dry Sacks. When you want to maximize space in your backpack, simply add the caps to your already compressed Dry Sack to keep it fully compressed and as small as possible.

Expert backpackers know that small items need dry protection and organization. Introducing the Zenbivy Zip Sack—a fully-welded & water-resistant zippered storage pouch for backcountry organization. Super lightweight and durable, our Zip Sacks are an easy way to keep the small items in your pack easily accessible and dry throughout your hike.

Introducing the new Zenbivy SoftTop™ Pillow—the only modular pillow that provides maximum comfort at minimum weight. The 3-piece design includes a down pillow topper for softness, an ultralight inflatable bladder for support and height adjustment, and a separate pillowcase for easy washing.
Our separate Compression Caps relieve the seams of the Dry Sacks. When you want to maximize space in your backpack, simply add the caps to your already compressed Dry Sack to keep it fully compressed and as small as possible.
Expert backpackers know that small items need dry protection and organization. Introducing the Zenbivy Zip Sack—a fully-welded & water-resistant zippered storage pouch for backcountry organization. Super lightweight and durable, our Zip Sacks are an easy way to keep the small items in your pack easily accessible and dry throughout your hike.
Introducing the new Zenbivy SoftTop™ Pillow—the only modular pillow that provides maximum comfort at minimum weight. The 3-piece design includes a down pillow topper for softness, an ultralight inflatable bladder for support and height adjustment, and a separate pillowcase for easy washing.

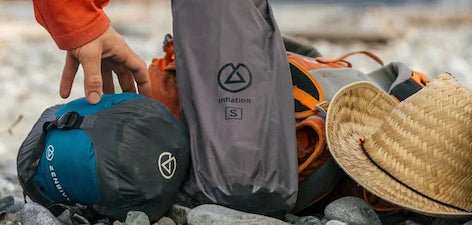
This is the perfect 4-in-1 portable3600mAh battery capacity rechargeable air pump for your mattress.
Max Pump 2 Pro can easily reach 150L/min of inflation airflow on low mode and 300L/min on high mode and respectively 2,5kPa to 4,5kPa of inflation pressure with its tiny size.

We know buying a sleep system for someone else can be tricky. After all, it's a very personalized thing. Check off their wishlist in one simple step and spread the joy of adventure with a Zenbivy Gift Card. Available in denominations from € 50 to € 1.000.

The Zenbivy Dry Sacks are designed with fully welded seams for ultimate durability and waterproof performance. Featuring a high-speed valve for compression and a lightweight yet robust construction, they ensure your gear stays completely dry while minimizing storage volume. Unlike traditional dry sacks, ours aren’t made from a single piece of fabric. The distributed compression reduces stress on the seams, resulting in a highly reliable, waterproof storage solution.
This is the perfect 4-in-1 portable3600mAh battery capacity rechargeable air pump for your mattress.
Max Pump 2 Pro can easily reach 150L/min of inflation airflow on low mode and 300L/min on high mode and respectively 2,5kPa to 4,5kPa of inflation pressure with its tiny size.
We know buying a sleep system for someone else can be tricky. After all, it's a very personalized thing. Check off their wishlist in one simple step and spread the joy of adventure with a Zenbivy Gift Card. Available in denominations from € 50 to € 1.000.
The Zenbivy Dry Sacks are designed with fully welded seams for ultimate durability and waterproof performance. Featuring a high-speed valve for compression and a lightweight yet robust construction, they ensure your gear stays completely dry while minimizing storage volume. Unlike traditional dry sacks, ours aren’t made from a single piece of fabric. The distributed compression reduces stress on the seams, resulting in a highly reliable, waterproof storage solution.